Author

Table of contents
Create a rental listing that attracts qualified leads and fills vacancies fast.
Creating a rental listing shouldn't mean juggling multiple tabs, hunting for property details, or second-guessing how to attract qualified renters. But for most agents, that's still the norm—manual entry, limited exposure, and no clear way to turn interest into action.
We built a better way.
We’ve redesigned the listing process to be faster, smarter, and easier to use. You’ll spend less time setting up, get more visibility across major platforms, and create listings that are actually built to convert.
Let’s take a closer look.
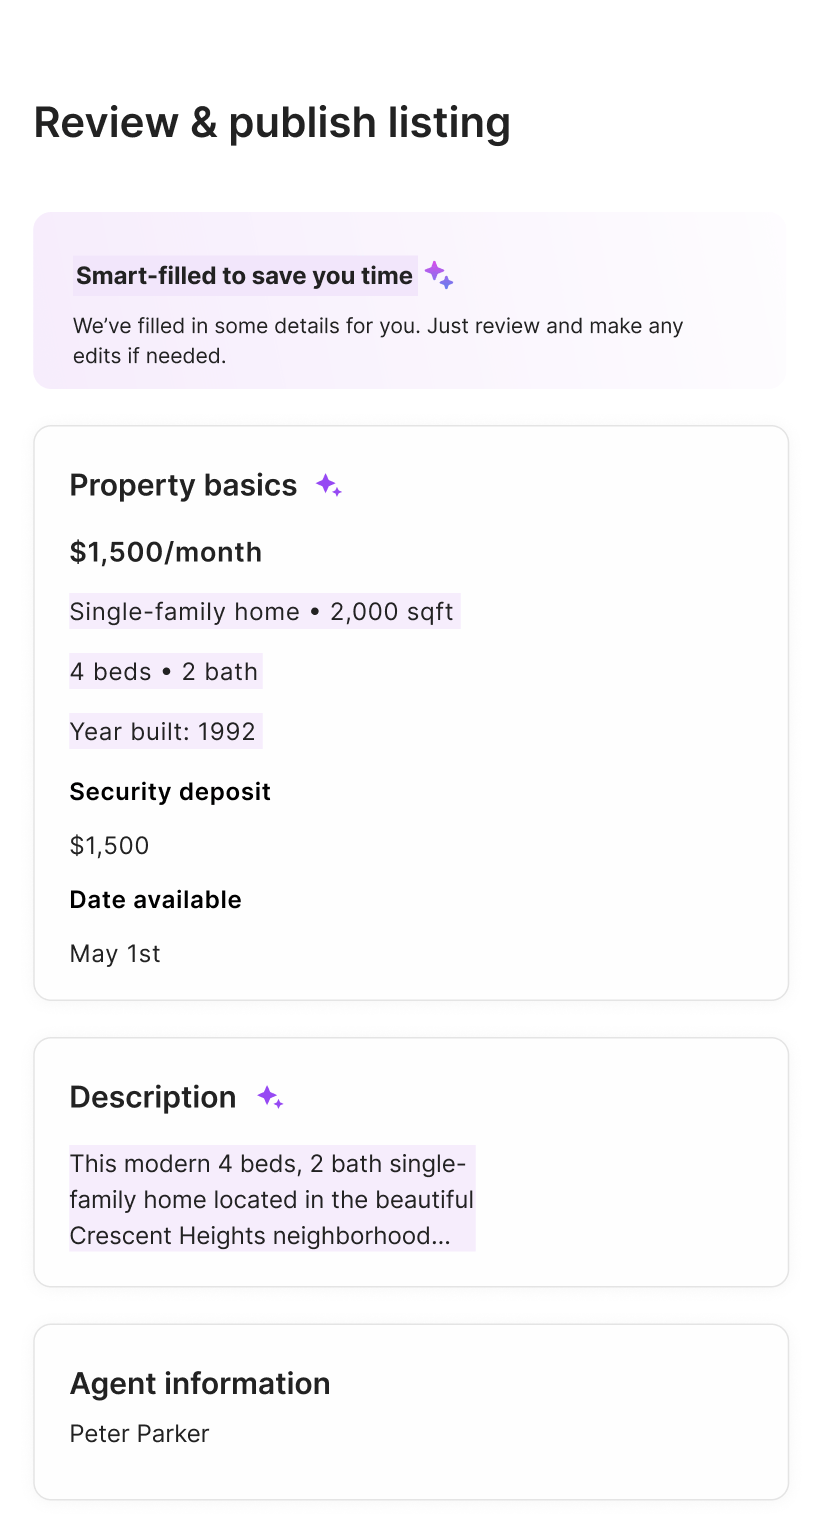
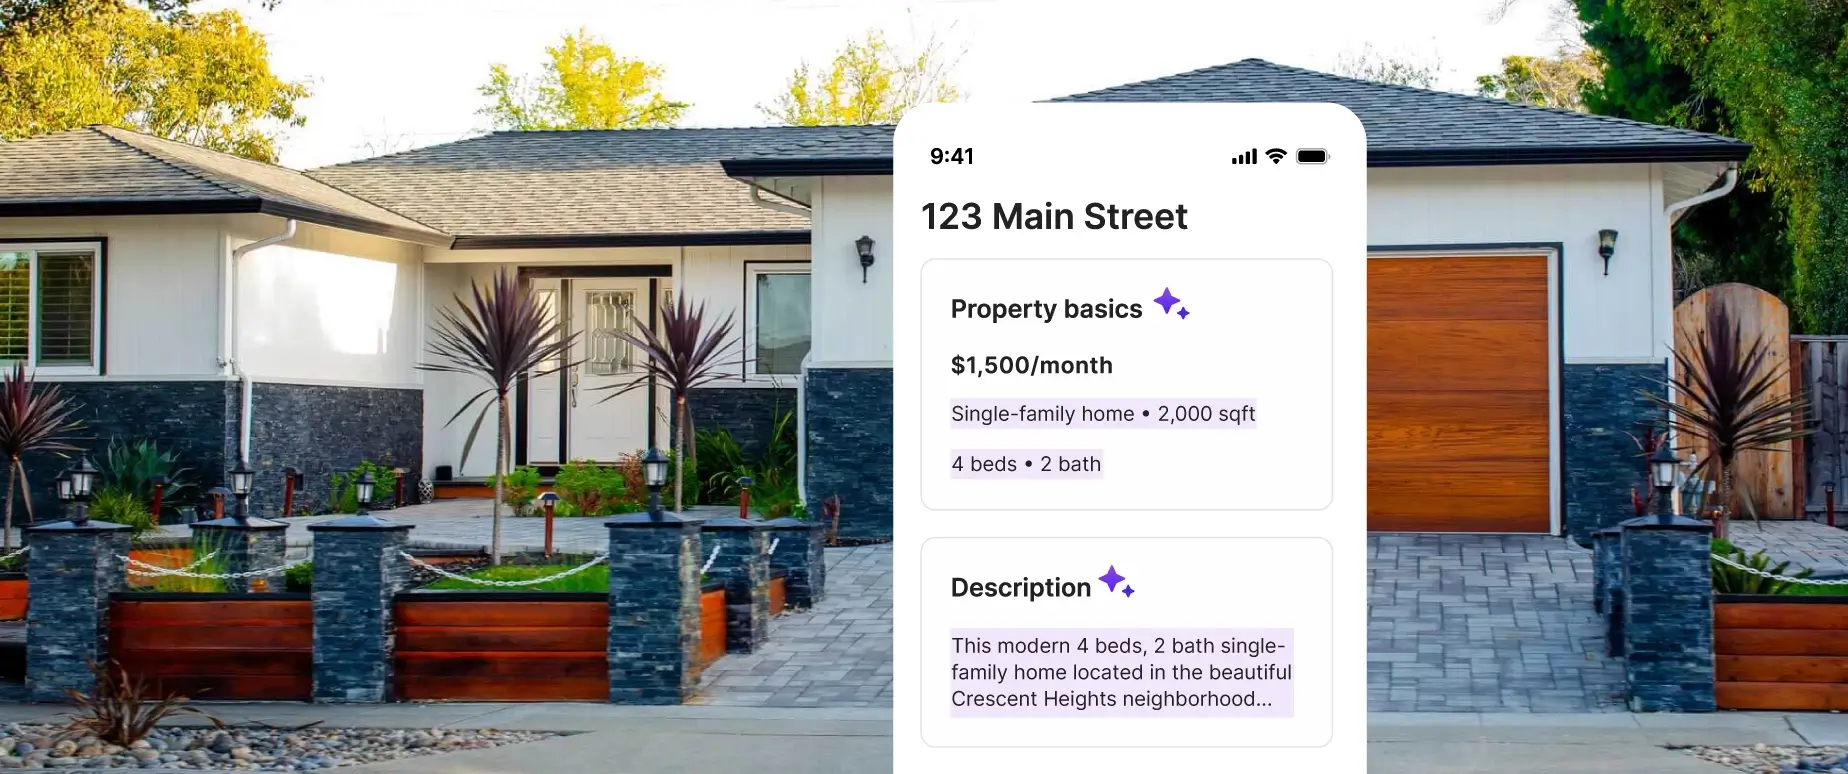
Just drop in the property address, photos, and basic lease terms. Smart-fill pulls key property details automatically—like bed and bath count, square footage, property type, and even a listing description. Most of the work is done before your coffee cools.
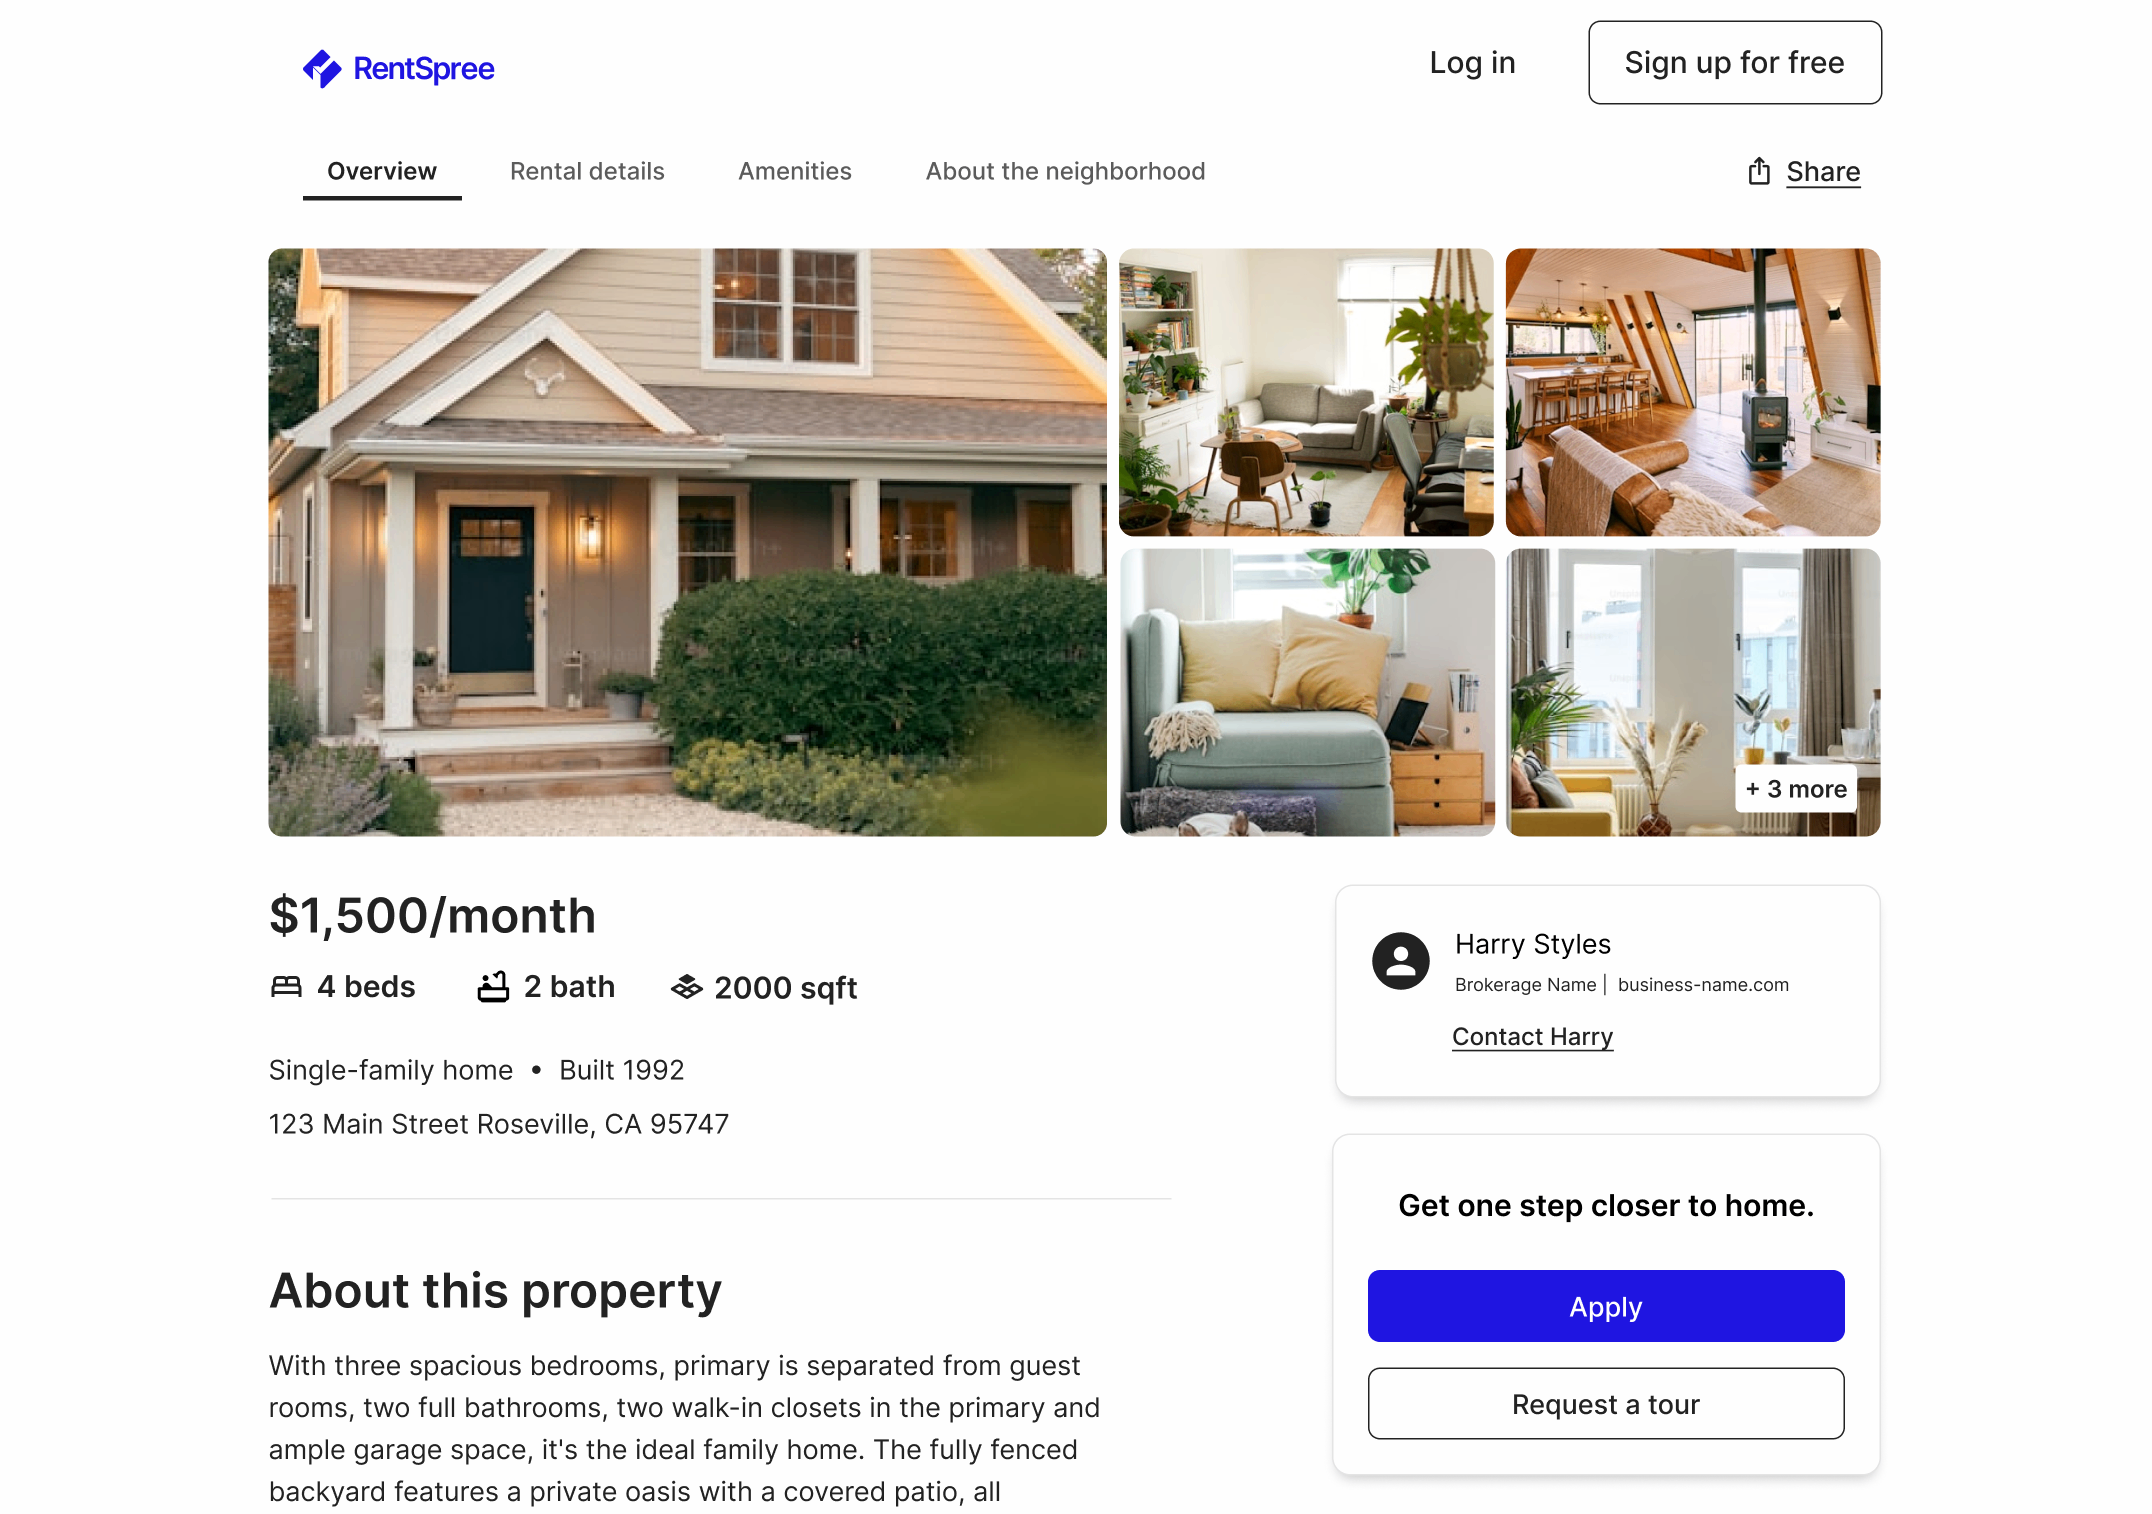
Once your listing is published, we send it to top rental sites like Apartments.com, Redfin, and Realtor.com—automatically. No copy-pasting. No extra steps. No fees. Your property gets real visibility, without the heavy lifting.
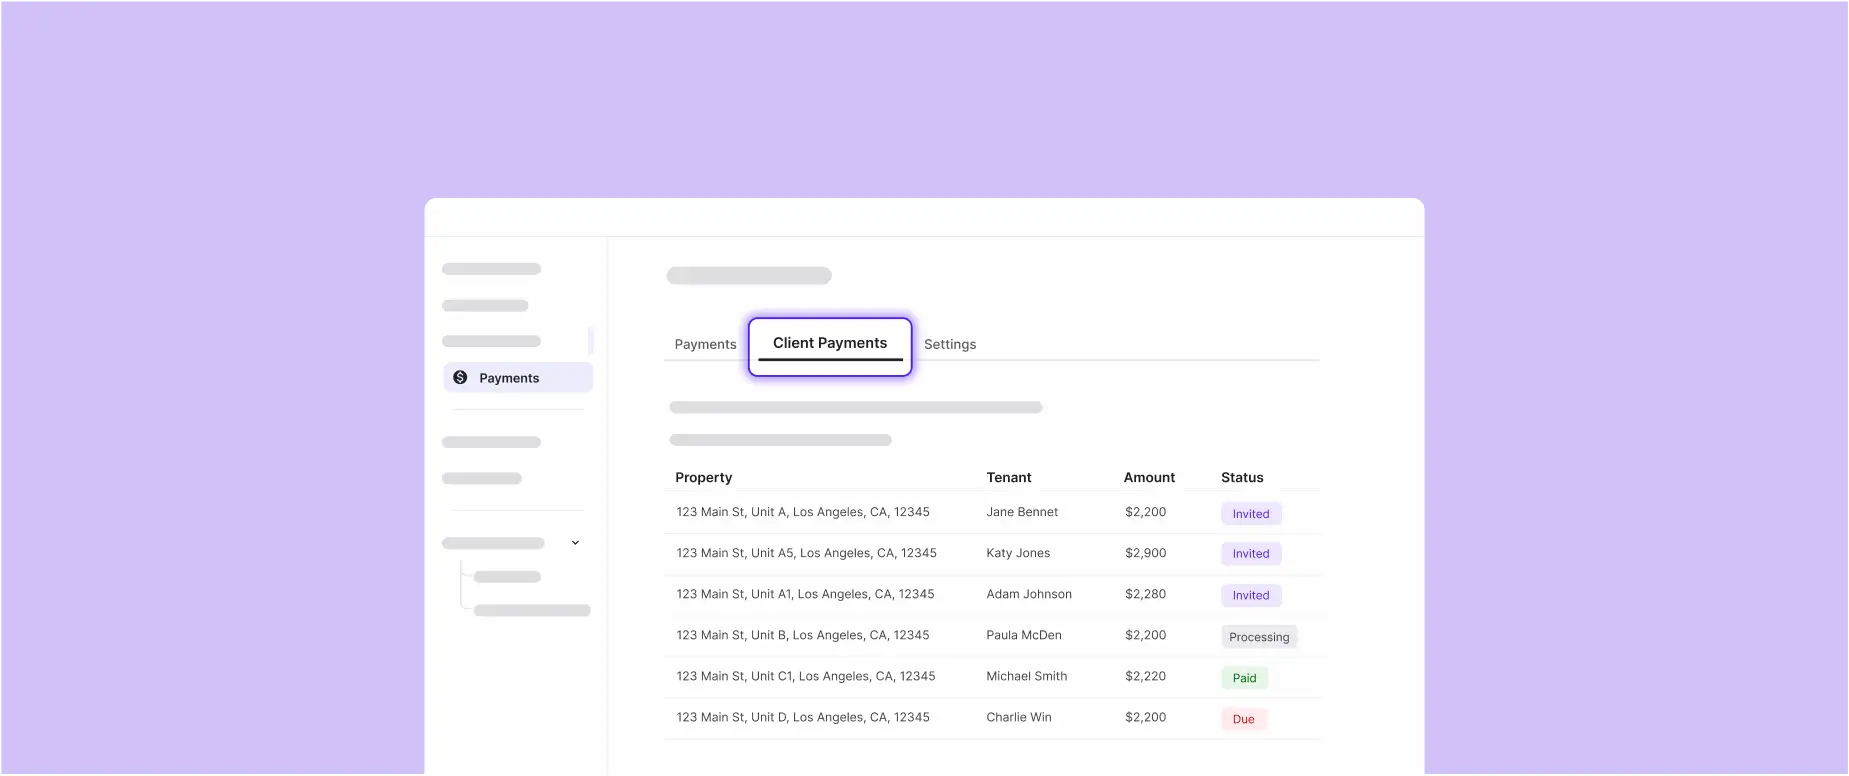
Renters can now inquire or apply directly from your listing. We automatically add your custom application link to your RentSpree listing page, so there’s nothing for you to set up manually. When someone applies, their screening reports are delivered straight to your dashboard—organized, secure, and ready to review.
It only takes a few minutes to go from address to active listing. Here’s how to do it:
This isn’t just a standalone listing tool. It connects directly to RentSpree’s other rental tools—so you can go from listing to screening, leasing, and payments without switching platforms or losing data.
Your full rental workflow is now connected, clear, and finally working together.
You don’t need more tools—you need fewer that do more. With the new RentSpree listing experience, you can skip the setup hassles, boost visibility, and turn interest into action faster.
Fewer tabs. Fewer delays. And listings that actually work.

Create a polished, renter-ready listing page in just a few clicks.
Save time on marketing, screening, and payments. Join over 2 million agents, landlords, and renters using RentSpree.


_tiny.png)